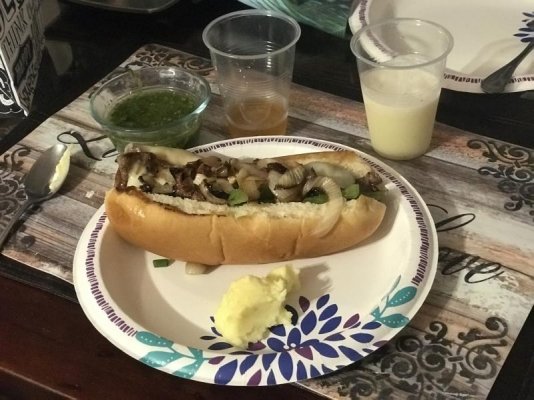
Chocolate Cake with Chocolate Buttercream Frosting
Chocolate Cake with Chocolate Buttercream Frosting (and red raspberry/whip cream filling)
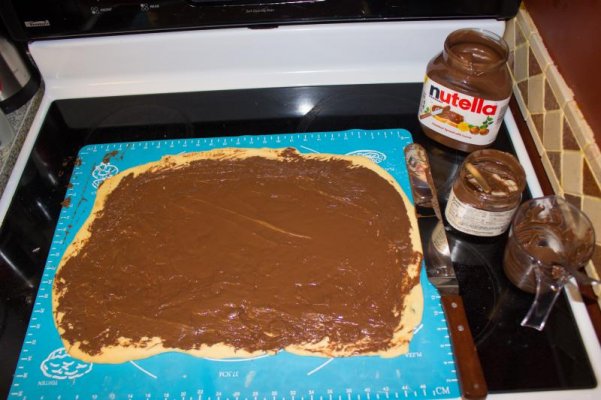
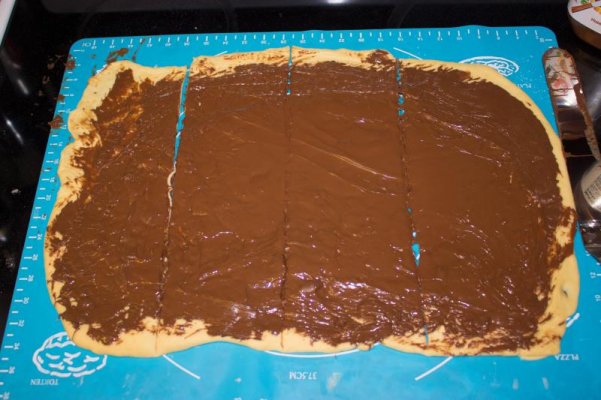
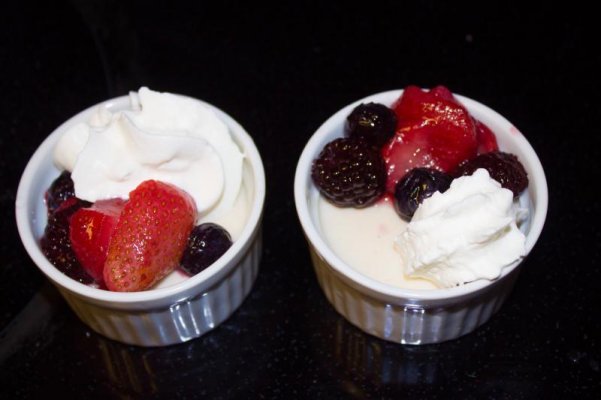
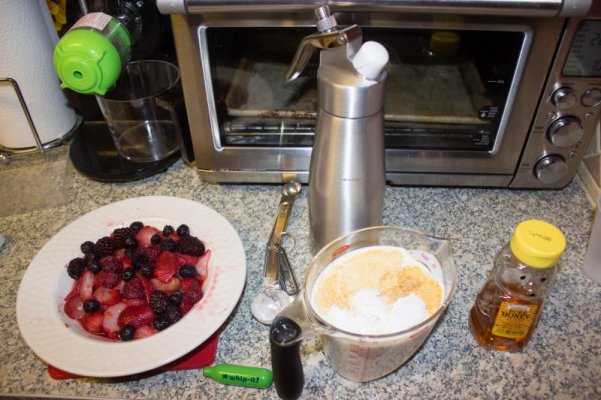
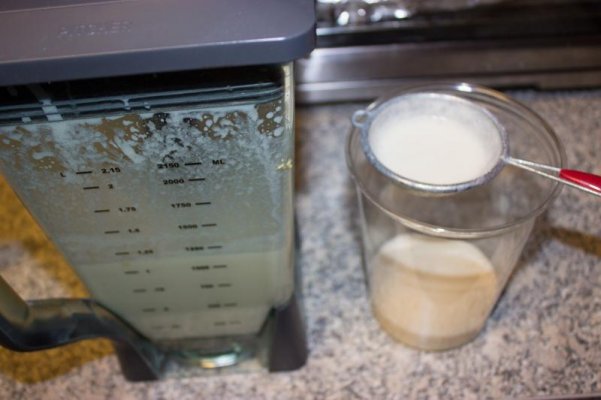
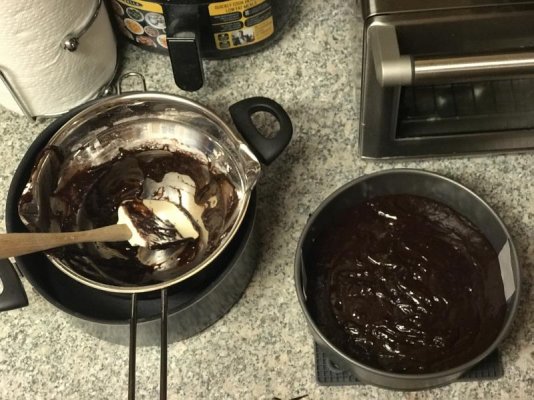
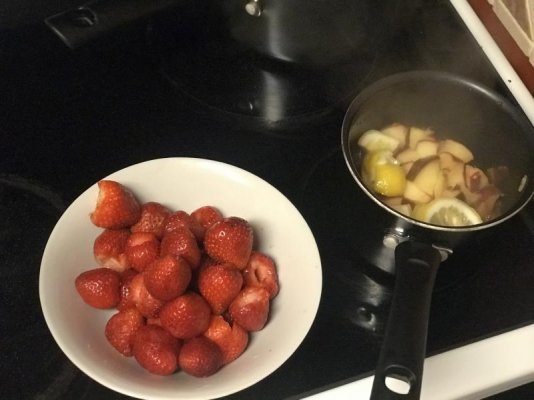
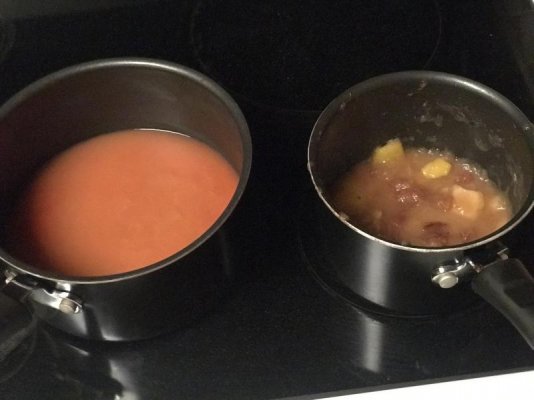
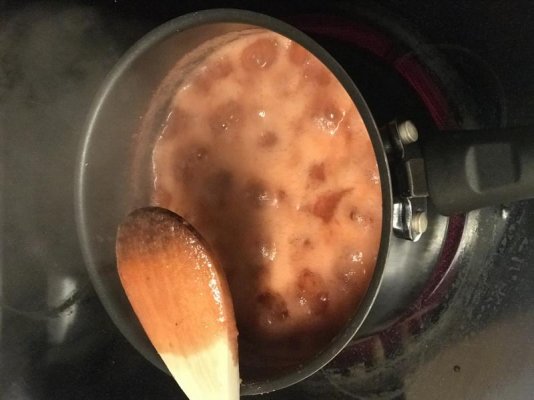
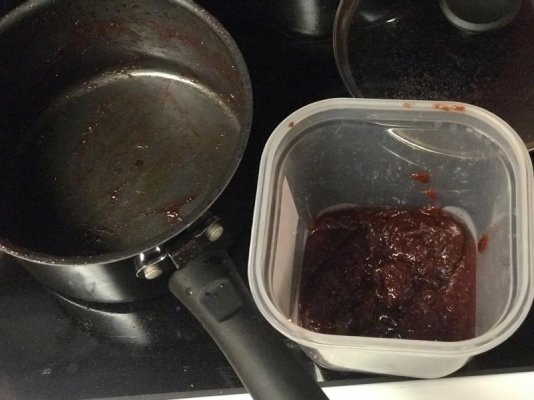
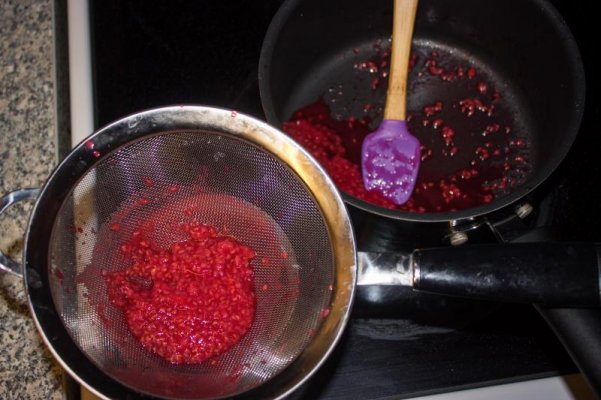
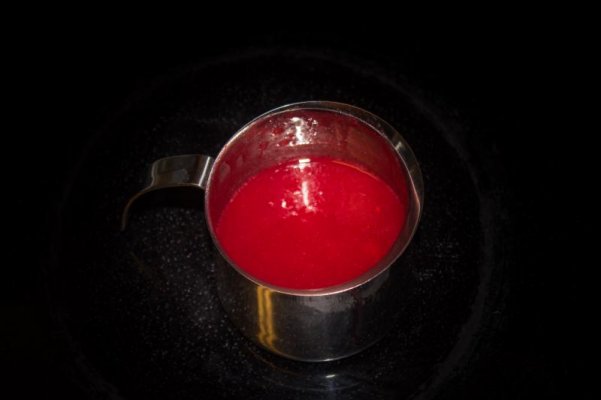
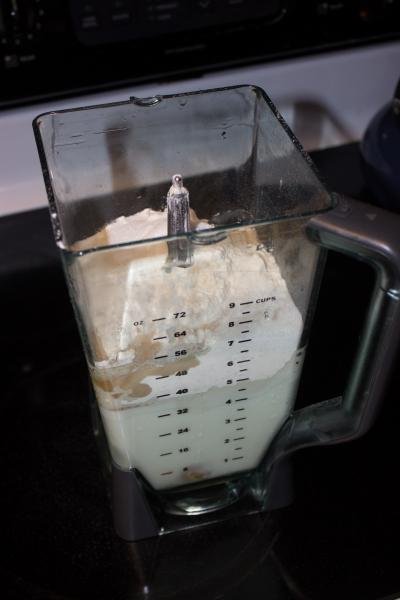
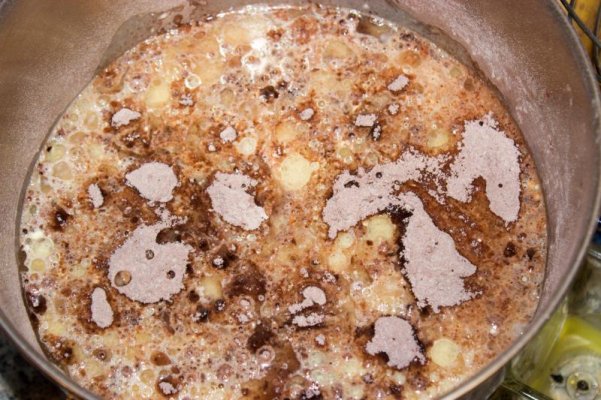
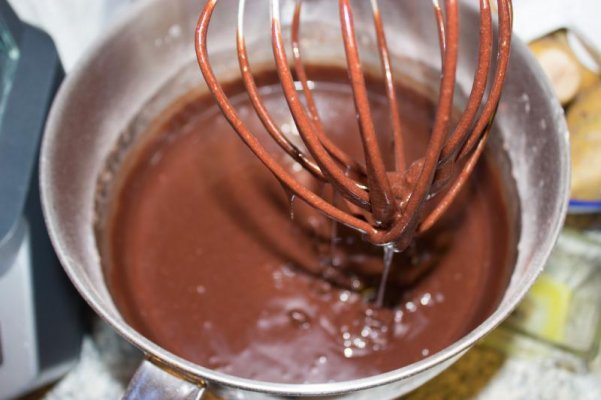
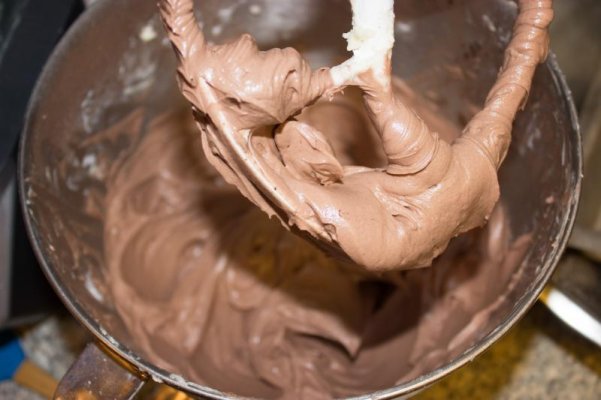
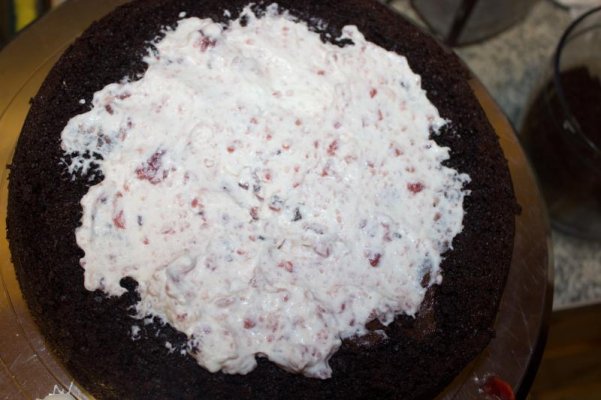
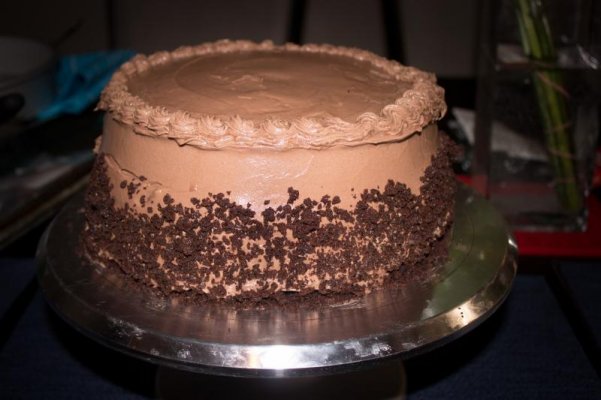
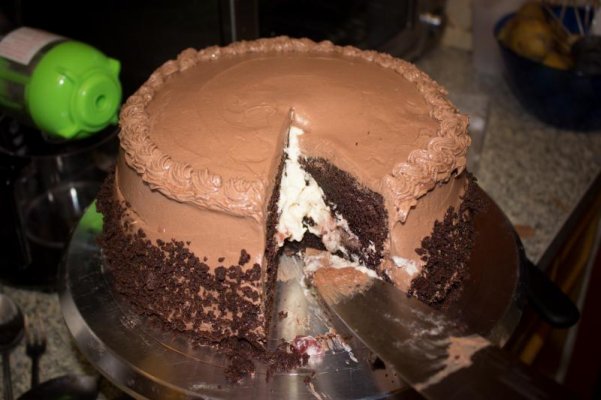
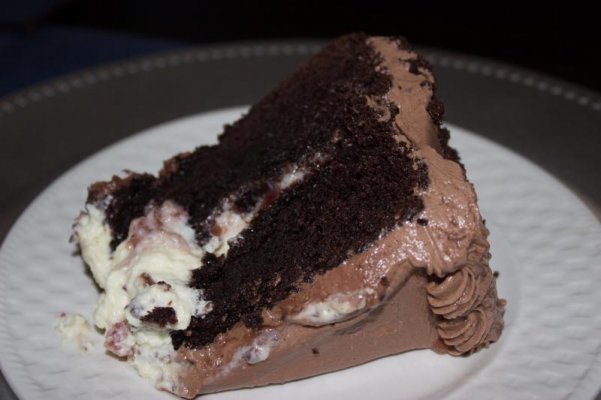
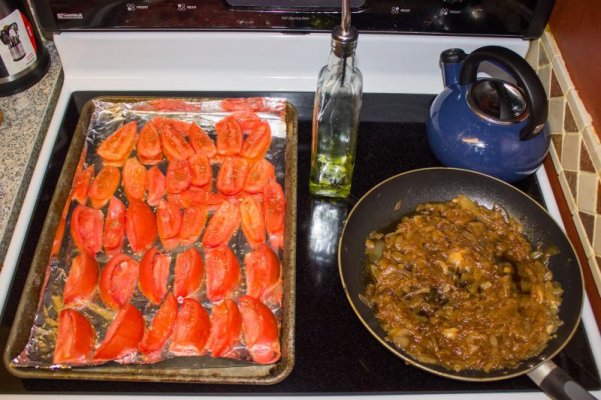
ingredients: cake - sour cream, buttermilk, eggs, espresso powder, vegetable oil, vanilla extract, ap flour, sugar, dark cocoa powder, baking powder, baking soda, salt. buttercream frosting - powdered sugar, butter, heavy cream, dark cocoa powder, vanilla extract, espresso powder, salt, sem-sweet chocolate. red raspberry - cheated. store bought. whip cream - heavy cream, vanilla extract, powdered sugar, honey. nibs - parts of cake cut off and blended
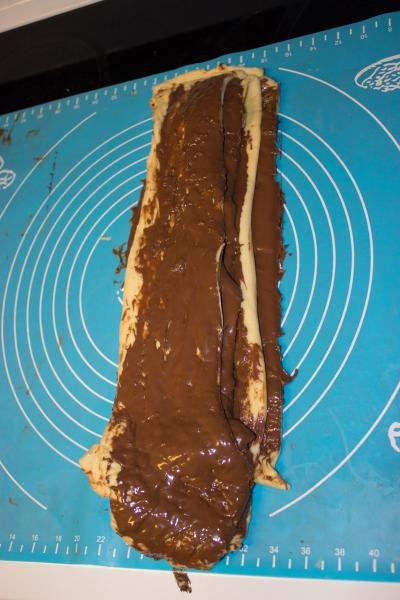
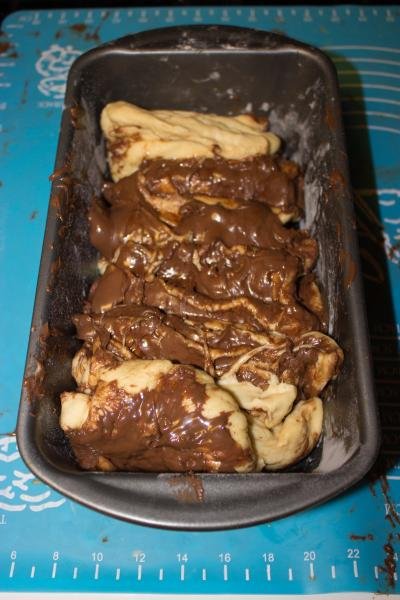
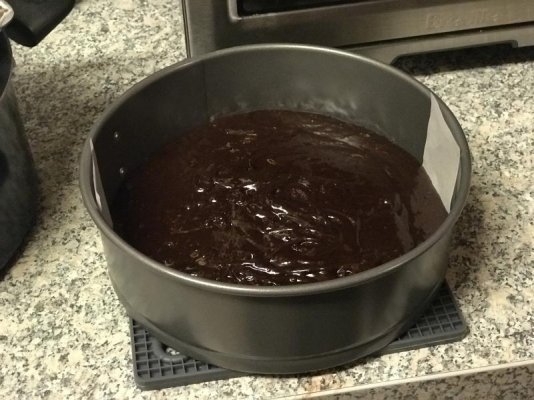
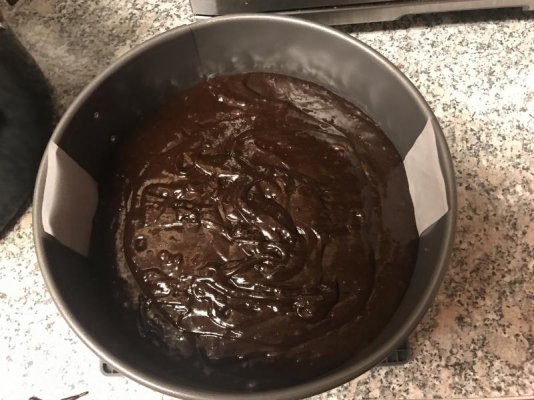
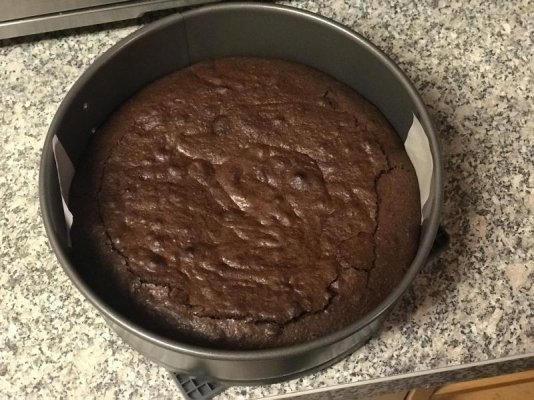
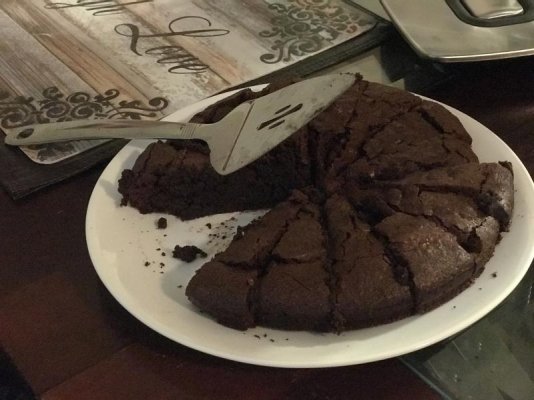
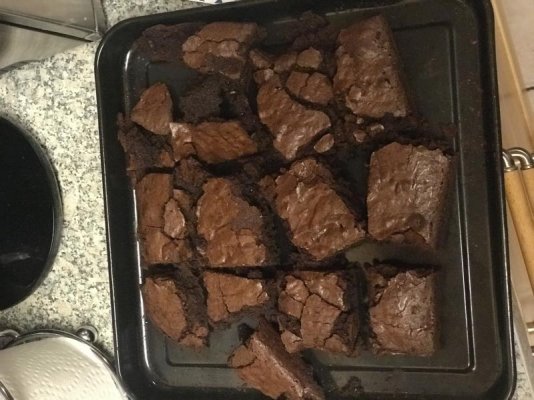
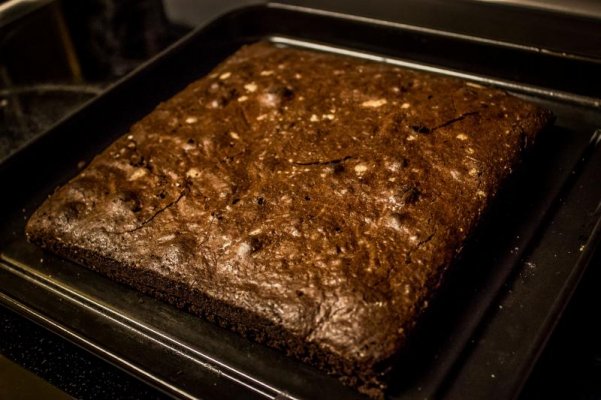
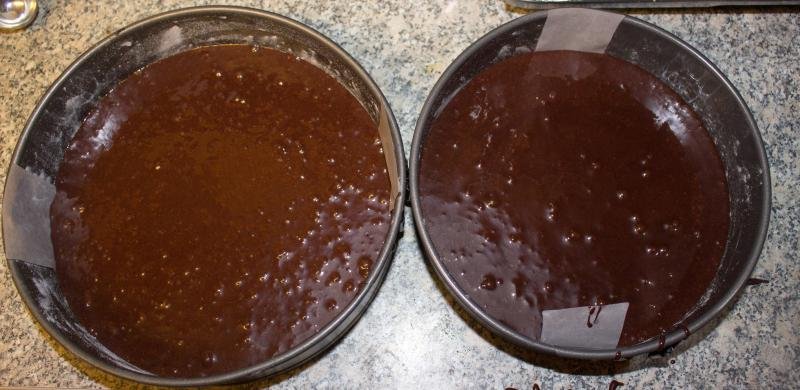
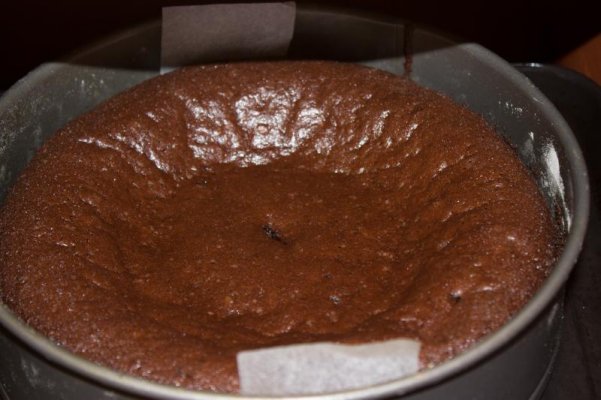
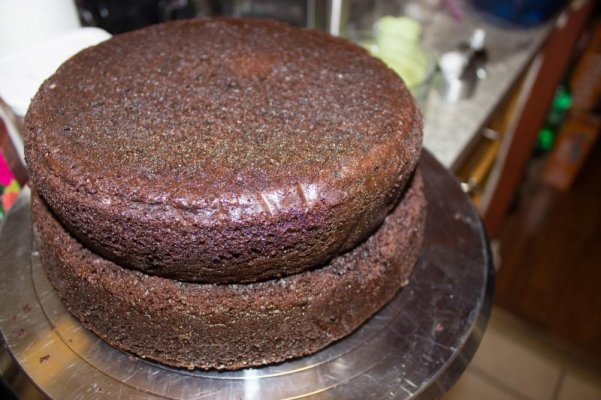
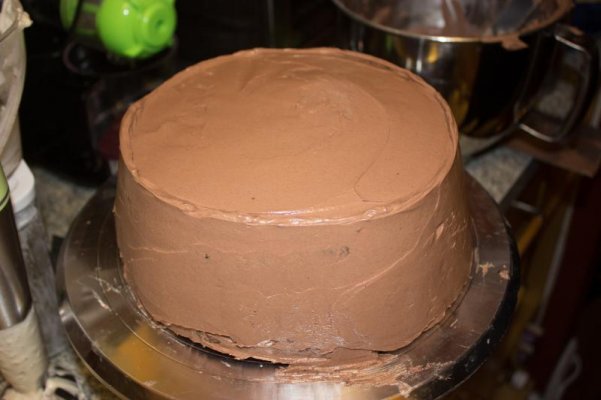
lessons learned: 1. started this one off but quickly out of my league. my niece came and helped me through this one. 2. used spring pans to bake. cake came out depressed in the middle. i did not use strips around outside. will try that next time. niece wound up trimming the top and we filled in the depression with red raspberry/whip cream (wasn't part of original idea) which worked out great. we also flip over the other depressed cake to make the top and basically make an empty ball in the middle. we filled the bottom half before putting the top half on. once the top half was on and 1st coat of buttercream we decided to apple core out the middle top and pump in whip cream into the rest of the middle. then we just buttercream the opening and top looked solid. didn't have no flavor floss so wound up cutting with a bread knife to flatten out a bit. 3. parts you cut you can grind up and crumb the sides to reuse. 4. biggest mess my kitchen has been yet on this one. between the 2 of us we got to the point where we couldn't find things (like whip cream cone attachment lol).
results/taste: overall the cake was good. not great because i didn't cook the cake part properly. the buttercream frosting was spot on and the red raspberry/homemade whip cream was a nice addition. just need to work on my cake baking skills and practice spinning the frosting on to decorate the cake. thankfully my niece save me on this one. considering i made it for her to begin with it all worked out well in the end smile.


")