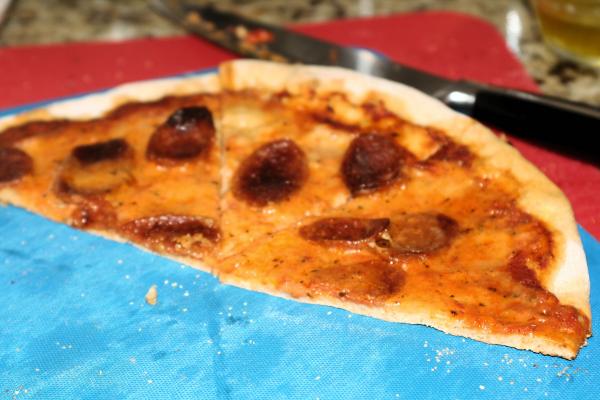
Thank you for your insight but we've been making pizza for years on the grill successfully using hardwood lump charcoal and hickory/oak and a thin crust pre-cooked on the grill, then topped, then finished back on the grill over indirect heat. We also smoke various cuts of meats so I'm well versed in making a fire and controlling it to get the temps I want.
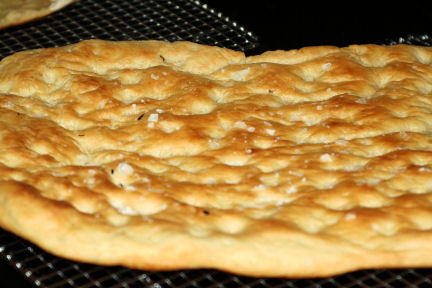
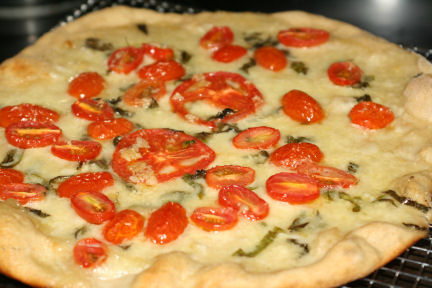
Personally, unless I'm making a take-off of Pizza Hut's old Priazzos, not very fond of a thick bread crust. Much prefer a thin as possible, crispy crust with just enough toppings.
Reason I bought this is trying to get even more of a wood-fired oven thing going on with even hotter temps (i.e. quicker cooking times) and trying to avoid having to pre-cook the crusts, which this accessory supposedly does. On further investigation, I've also found you can do a double-stack method of cooking on the top part of the grill after you get your initial pizzas going. Looking forward to some wood-fired oven cooked bread now too.
")