Max1
Head Chef
What version looks better? Reminder my PC theme is red though....
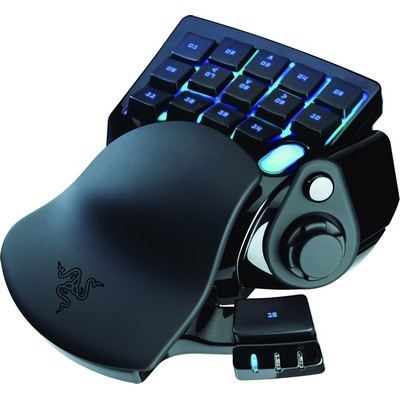
Normal Version out of the box.

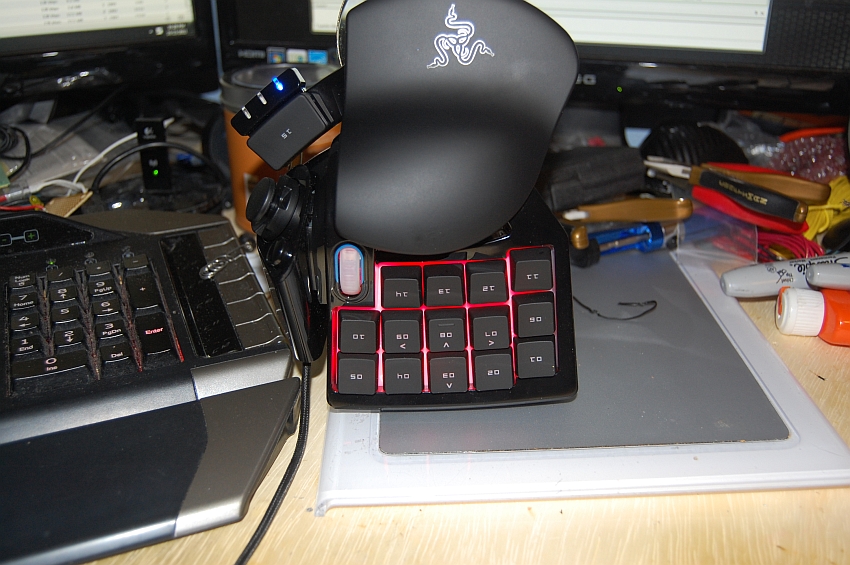
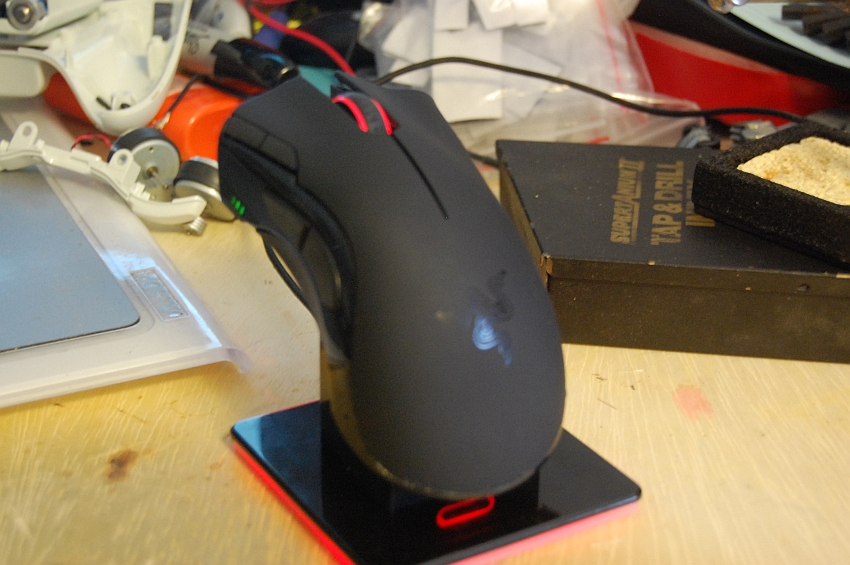
My version, that I customized and voided the warranty.

Again Normal Version
My Version


If you want to see the full customization keep on scrolling....
Here is the full modification thread from my modding site.
I did these series of modification a few years back, and originally posted it on the Mod Brothers website. The mods consisted of changing out the LED's in my Razer Mamba, it's base, and my Saitek Nostromo.
Both of the pieces of hardware had bright blue back-lighting. This did not go with any of the coloring scheme that I have for any other piece of my system. So I needed to change them all to low intensity red.
Here is the build for both of them.
1. Here is what the Saitek Nostromo looks like in the original stock appearance.

2. Most of the new red LED's installed. Here are a few pics. (Darker pics are with out a flash on my camera.)


3. This is a picture of the bottom of the keypad area back together, and me trying to get the thumb pad apart.
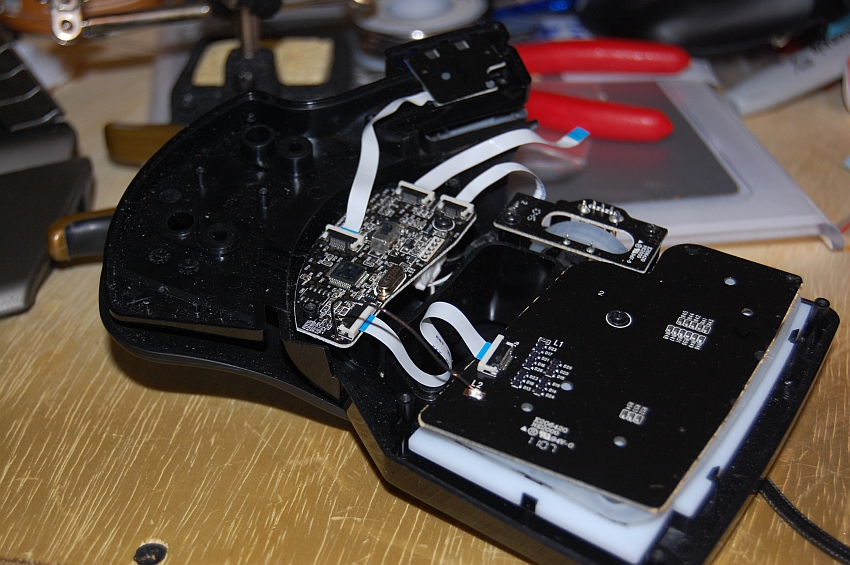
4. Lighted.


5. All back together. The Blue LED at the top is a mode button, I wanted to leave those stock. Each one is a different color.


Now on to my Mamba mods. This actually kinda ticked me off, right after I bought mine and modded it, Razer decided to make the new version which is the Mamba 2012 version, and the main reason for the upgraded model was to make it so the owners can change the lighting color and intensity at will. Yeah I know bastards right? But as Mr. Bill Owen says, there is nothing like a freshly Voided Warranty.
This is actually in two parts. The Base, and then the actual Mouse. I will do the base first. Please remember that the darker pictures are with my camera.
1. Stock pictures, always start with stock, so peeps have an idea. LOL....


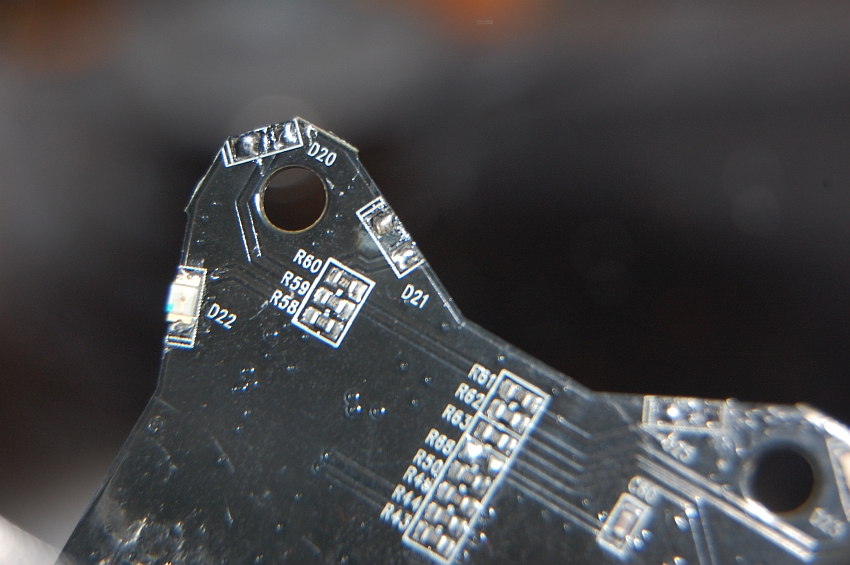
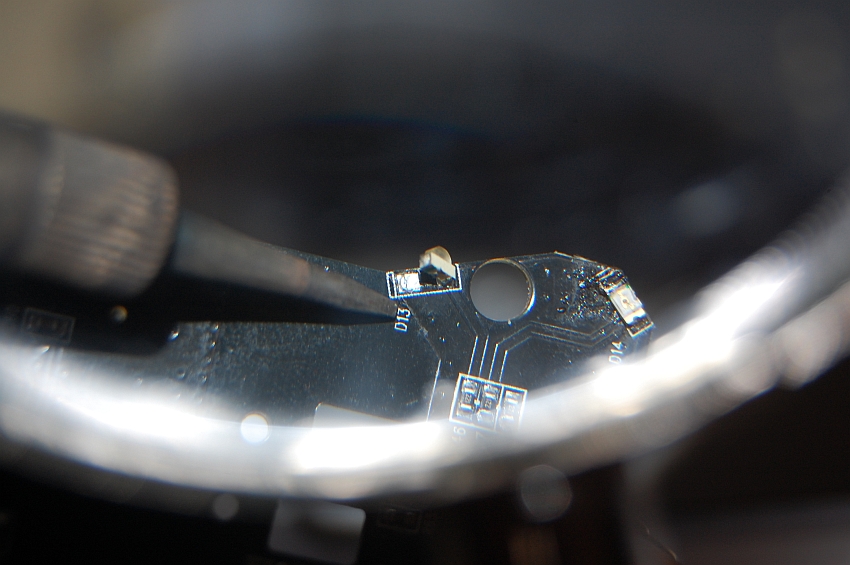
2. Here is a picture of the LED's, I wish I had a better comparison for the size. All I can say is that the piece of solder at the top is .33mm in diameter. I think they were 2mm LED's


3. This is the base with the very top off, we will come back to this in a bit.

4. Here is the main board out of the base of the base (HA! bas of the base. Yeah I am a dork.) If you look closely the two LED's on the left side have been changed out to the new style, numbers D18, and D22, the rest are the old style yet.
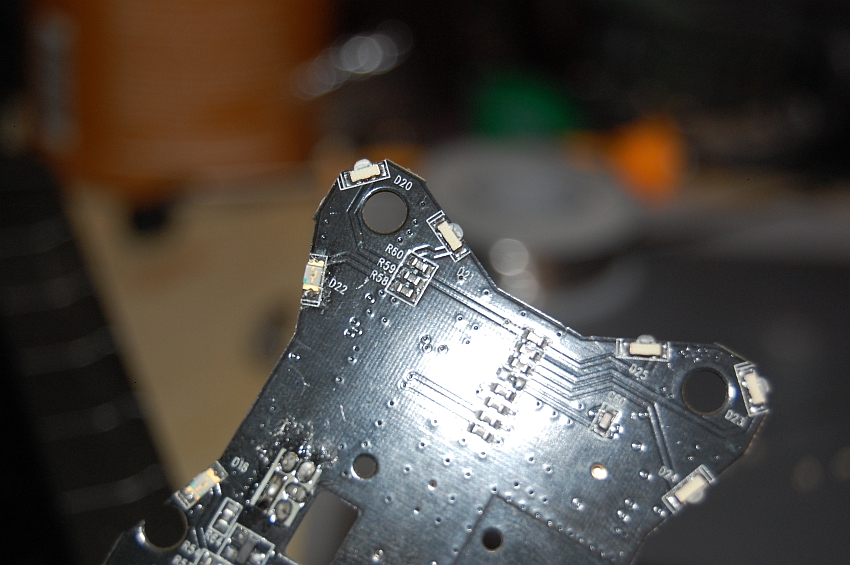
5. These boards are just basically cardboard, if you leave your iron on too long it will burn right through. You can see that I have removed the old style LED's off the board and have started in install the new ones.
6. Every so often you have to hook everything back up and see if it is working properly. This is what I have done here. It is a pain in the ass but well worth it that you know that everything works. As you can see I found that D25 is inop.
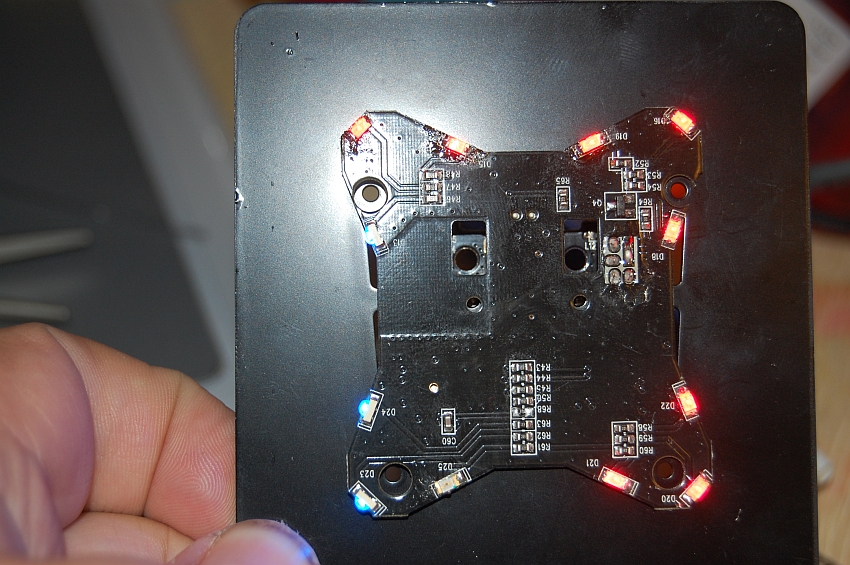
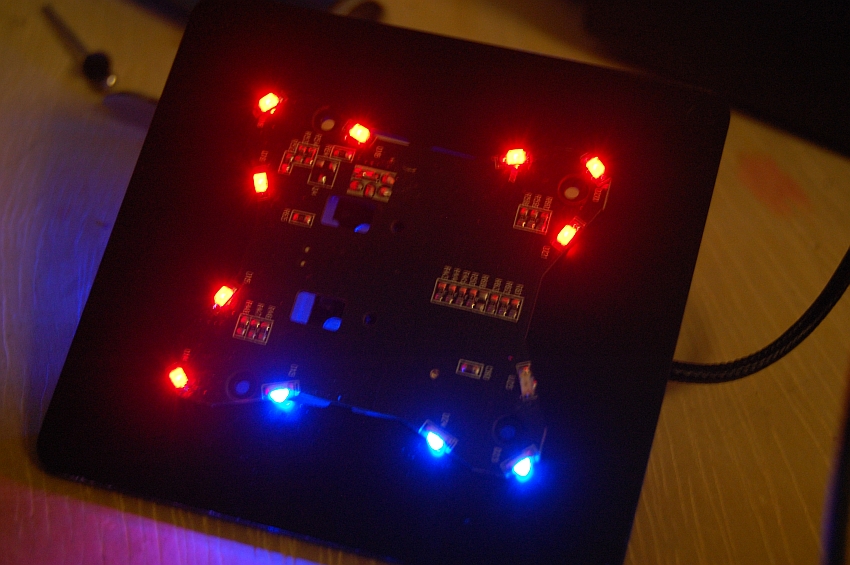
7. I kinda fried that one LED and had to wait to get a new one. I thought I ordered enough, but they short changed me so it cost them over $40 to overnight me 10 LED's that cost a whole $0.75 total, from London, England.
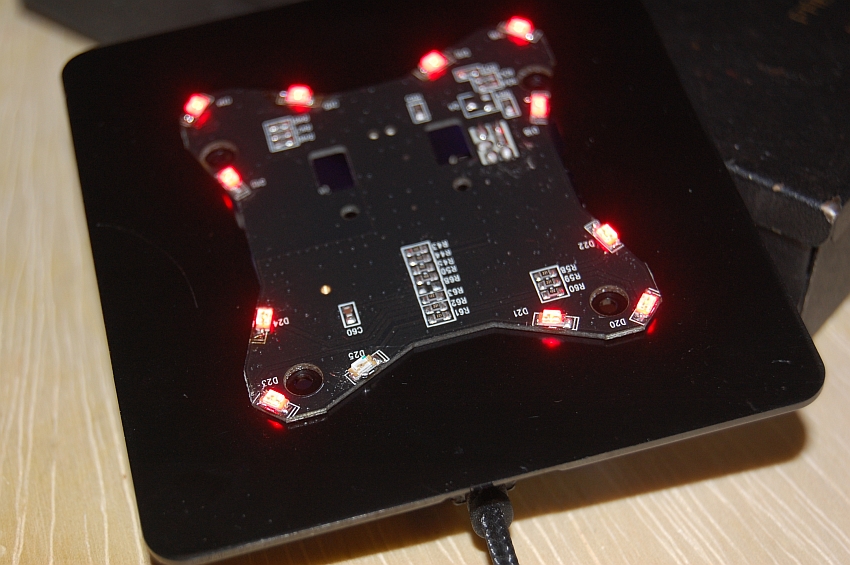
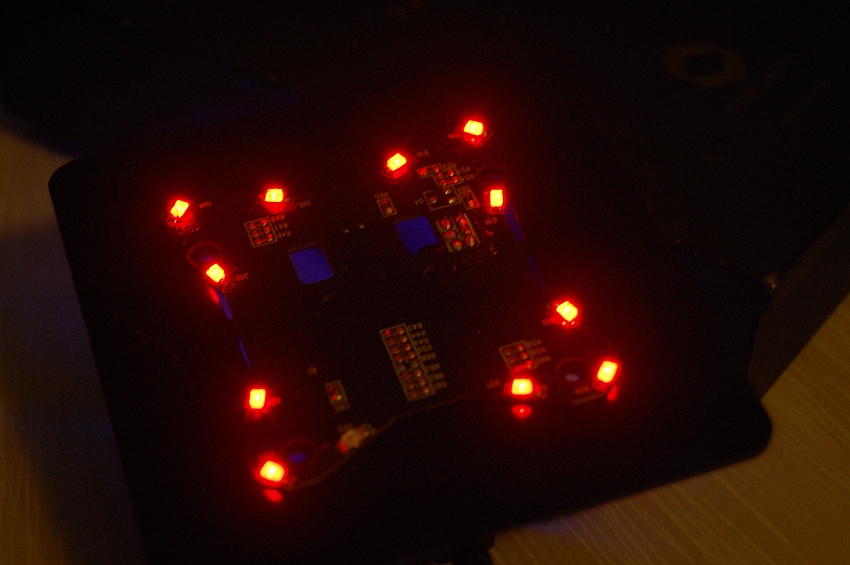
8. Here is the top of the base, for some reason I can not find the pictures with the new LED's in place.
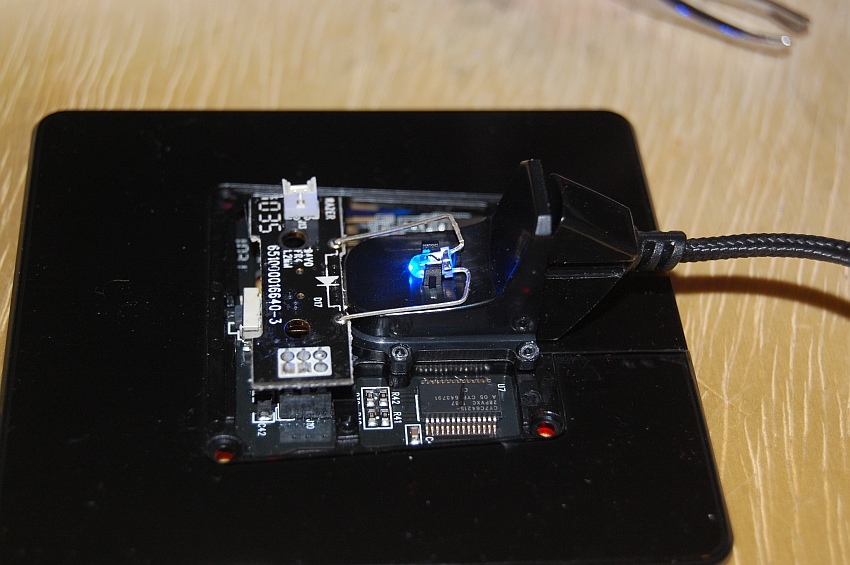

9. Here is the base all put back together.


10. Bottom view of the base....


11. The only place there was an LED on the mouse was in the Scroll Wheel, so I will not bore you all with the taking apart of the mouse. Just show the finished product.

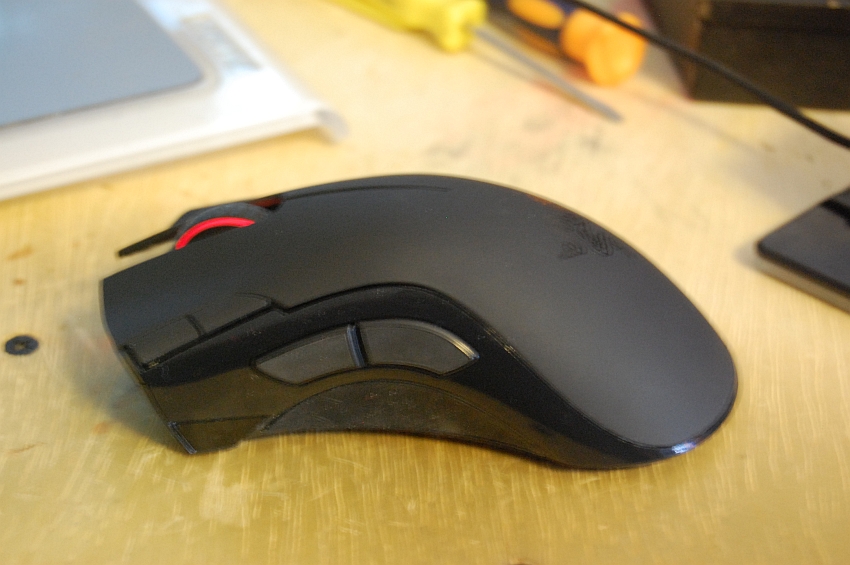
12. Here is the mouse setup with the stand. I have to say this was a fun project, hope to be posting some more here in due time.

Normal Version out of the box.

My version, that I customized and voided the warranty.

Again Normal Version

My Version


If you want to see the full customization keep on scrolling....
Here is the full modification thread from my modding site.
I did these series of modification a few years back, and originally posted it on the Mod Brothers website. The mods consisted of changing out the LED's in my Razer Mamba, it's base, and my Saitek Nostromo.
Both of the pieces of hardware had bright blue back-lighting. This did not go with any of the coloring scheme that I have for any other piece of my system. So I needed to change them all to low intensity red.
Here is the build for both of them.
1. Here is what the Saitek Nostromo looks like in the original stock appearance.

2. Most of the new red LED's installed. Here are a few pics. (Darker pics are with out a flash on my camera.)


3. This is a picture of the bottom of the keypad area back together, and me trying to get the thumb pad apart.

4. Lighted.


5. All back together. The Blue LED at the top is a mode button, I wanted to leave those stock. Each one is a different color.


Now on to my Mamba mods. This actually kinda ticked me off, right after I bought mine and modded it, Razer decided to make the new version which is the Mamba 2012 version, and the main reason for the upgraded model was to make it so the owners can change the lighting color and intensity at will. Yeah I know bastards right? But as Mr. Bill Owen says, there is nothing like a freshly Voided Warranty.
This is actually in two parts. The Base, and then the actual Mouse. I will do the base first. Please remember that the darker pictures are with my camera.
1. Stock pictures, always start with stock, so peeps have an idea. LOL....


2. Here is a picture of the LED's, I wish I had a better comparison for the size. All I can say is that the piece of solder at the top is .33mm in diameter. I think they were 2mm LED's


3. This is the base with the very top off, we will come back to this in a bit.

4. Here is the main board out of the base of the base (HA! bas of the base. Yeah I am a dork.) If you look closely the two LED's on the left side have been changed out to the new style, numbers D18, and D22, the rest are the old style yet.

5. These boards are just basically cardboard, if you leave your iron on too long it will burn right through. You can see that I have removed the old style LED's off the board and have started in install the new ones.


6. Every so often you have to hook everything back up and see if it is working properly. This is what I have done here. It is a pain in the ass but well worth it that you know that everything works. As you can see I found that D25 is inop.


7. I kinda fried that one LED and had to wait to get a new one. I thought I ordered enough, but they short changed me so it cost them over $40 to overnight me 10 LED's that cost a whole $0.75 total, from London, England.


8. Here is the top of the base, for some reason I can not find the pictures with the new LED's in place.


9. Here is the base all put back together.


10. Bottom view of the base....


11. The only place there was an LED on the mouse was in the Scroll Wheel, so I will not bore you all with the taking apart of the mouse. Just show the finished product.


12. Here is the mouse setup with the stand. I have to say this was a fun project, hope to be posting some more here in due time.


Last edited:

