Andy M.
Certified Pretend Chef
As a follow-up to Seigal's Pistachio Baklava post I'm posting my version with photos for comparison.
Here's the recipe with photos to follow:
Paklava
1¼ C Sugar
1 C Water
1 tsp Lemon Juice
3 C Chopped Walnuts
1Tb Cinnamon
¼ C Sugar
⅛ tsp Ground Clove
¾ Lb Unsalted Butter, clarified
1 Lb Phyllo Dough
Combine the sugar and water in a saucepan and bring it to a boil, stirring to melt the sugar. Boil for 10 minutes. Stir in the lemon juice and set it aside to cool.
Mix the nuts, sugar and spices in a bowl and set aside.
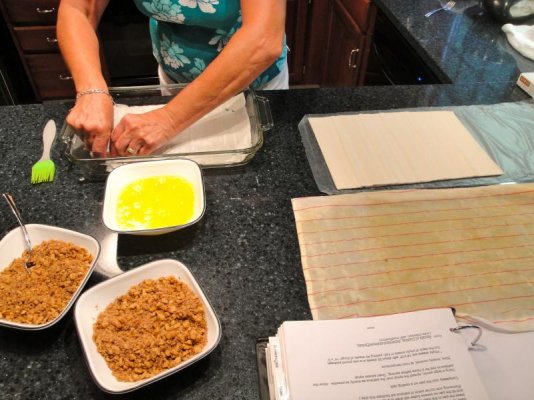
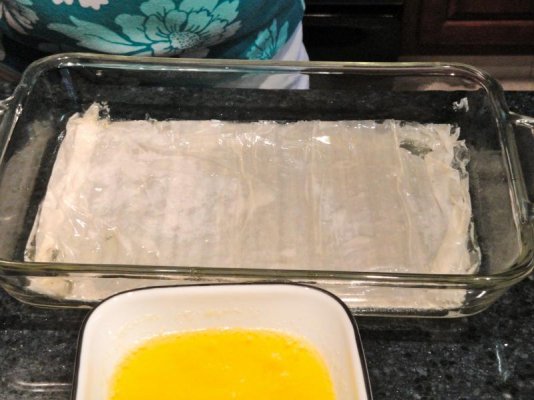
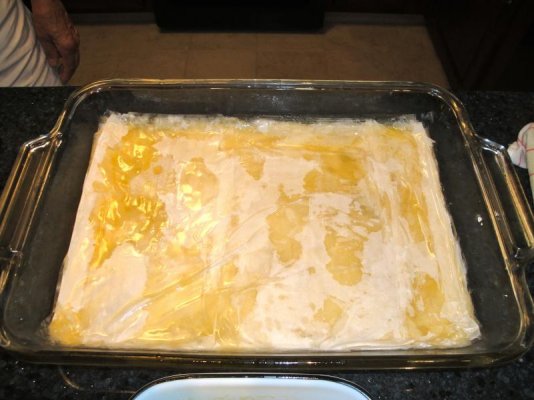
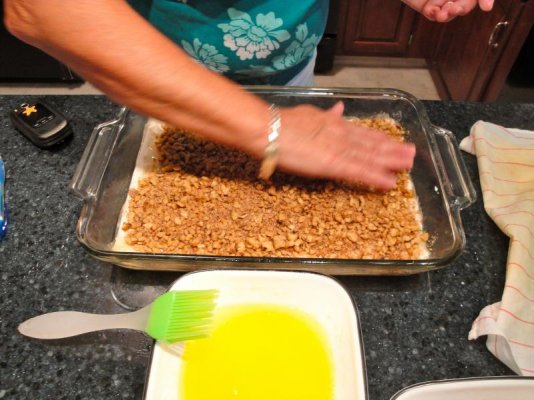
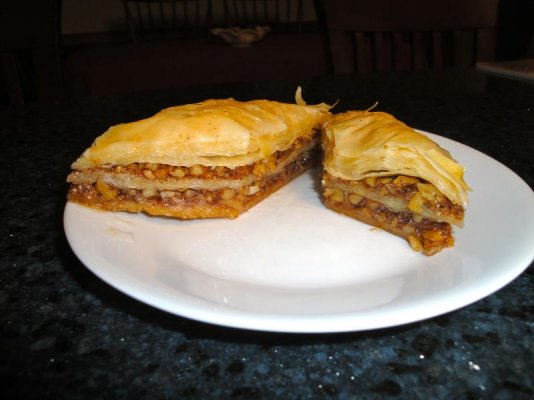
Brush the bottom of a 14x10 pan with butter. Place a phyllo sheet in the pan and brush it lightly with butter. Repeat for a total of 10 buttered sheets. Spread a third of the nut and spice mixture over the surface of the phyllo in the pan.
Layer a second group of 10 sheets of phyllo, buttering each sheet. Spread another third of the nut and spice mixture over the surface of the phyllo in the pan.
Layer a third group of 10 sheets of phyllo, buttering each sheet. Spread the final third of the nut and spice mixture over the surface of the phyllo in the pan.
Layer the remaining phyllo, brushing each sheet with butter.
Place the pan in the freezer for 10 minutes. Preheat the oven to 325º F.
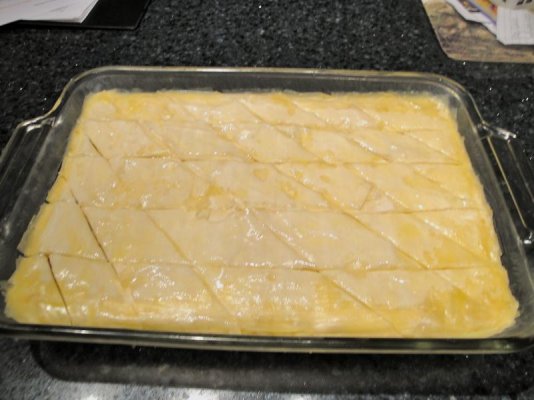
Cut the paklava according to your preference. Pour remaining butter over the top of the paklava.
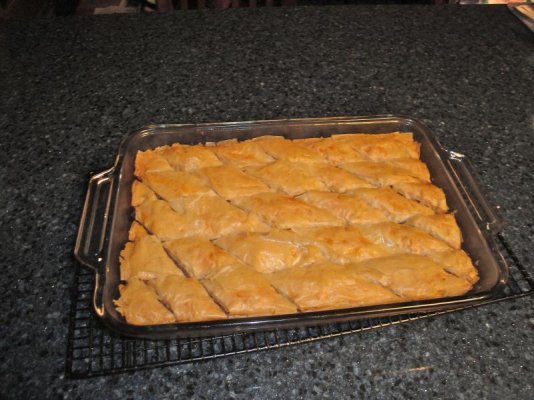
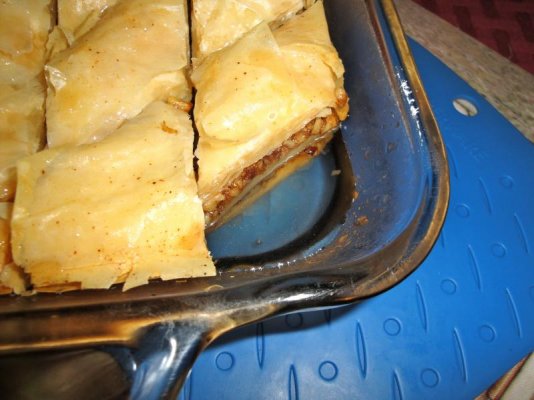
Bake for 35 to 45 minutes until the top is a light golden brown. Turn off the oven and leave the pan in the oven for an additional 10 minutes. Remove the pan from the oven and tilt the pan so excess butter will drain to a corner. Remove the excess butter. (Removing one corner piece of paklava will facilitate this step.)
Completely cool the pan on a cooling rack.
Using a large spoon, spread the syrup over the paklava as evenly as possible. Allow the paklava to rest for 2 hours before serving. Drain excess syrup. Draining the excess syrup is key to preventing a soggy pastry.
Store, loosely covered, at room temperature.
You may make this with two layers of nuts with 13-14 sheets per layer. Paklava made with a single layer of nuts does not stay together as well in serving-sized pieces.
This is not a complicated process but it takes patience (this is why I'm taking the pictures and SO is making the pakalva) to work with the phyllo sheets as they can be difficult to work with. Some packages are a mess when you open them up while others are perfect and present no handling problems. We always buy a backup package when we make our paklava.
Here's the recipe with photos to follow:
Paklava
1¼ C Sugar
1 C Water
1 tsp Lemon Juice
3 C Chopped Walnuts
1Tb Cinnamon
¼ C Sugar
⅛ tsp Ground Clove
¾ Lb Unsalted Butter, clarified
1 Lb Phyllo Dough
Combine the sugar and water in a saucepan and bring it to a boil, stirring to melt the sugar. Boil for 10 minutes. Stir in the lemon juice and set it aside to cool.
Mix the nuts, sugar and spices in a bowl and set aside.
Brush the bottom of a 14x10 pan with butter. Place a phyllo sheet in the pan and brush it lightly with butter. Repeat for a total of 10 buttered sheets. Spread a third of the nut and spice mixture over the surface of the phyllo in the pan.
Layer a second group of 10 sheets of phyllo, buttering each sheet. Spread another third of the nut and spice mixture over the surface of the phyllo in the pan.
Layer a third group of 10 sheets of phyllo, buttering each sheet. Spread the final third of the nut and spice mixture over the surface of the phyllo in the pan.
Layer the remaining phyllo, brushing each sheet with butter.
Place the pan in the freezer for 10 minutes. Preheat the oven to 325º F.
Cut the paklava according to your preference. Pour remaining butter over the top of the paklava.
Bake for 35 to 45 minutes until the top is a light golden brown. Turn off the oven and leave the pan in the oven for an additional 10 minutes. Remove the pan from the oven and tilt the pan so excess butter will drain to a corner. Remove the excess butter. (Removing one corner piece of paklava will facilitate this step.)
Completely cool the pan on a cooling rack.
Using a large spoon, spread the syrup over the paklava as evenly as possible. Allow the paklava to rest for 2 hours before serving. Drain excess syrup. Draining the excess syrup is key to preventing a soggy pastry.
Store, loosely covered, at room temperature.
You may make this with two layers of nuts with 13-14 sheets per layer. Paklava made with a single layer of nuts does not stay together as well in serving-sized pieces.
This is not a complicated process but it takes patience (this is why I'm taking the pictures and SO is making the pakalva) to work with the phyllo sheets as they can be difficult to work with. Some packages are a mess when you open them up while others are perfect and present no handling problems. We always buy a backup package when we make our paklava.
Last edited: